Composite & Trex
Planning a Trex Deck: A Practical Roadmap
· 2 min read · Deck Builders LLC
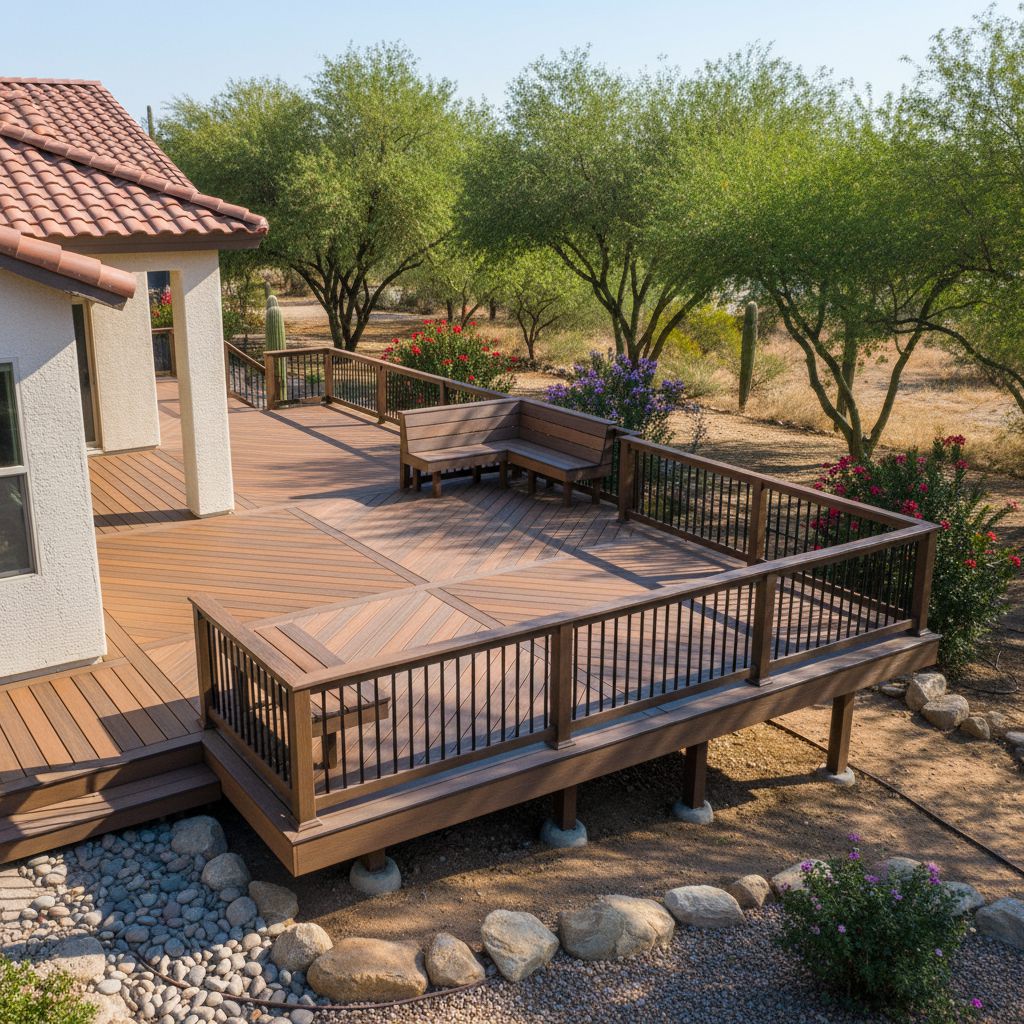
Trex is a brand, not a single product. Planning well means choosing the right line for your budget and making sure it is installed the way Trex requires.
Step 1: choose the line
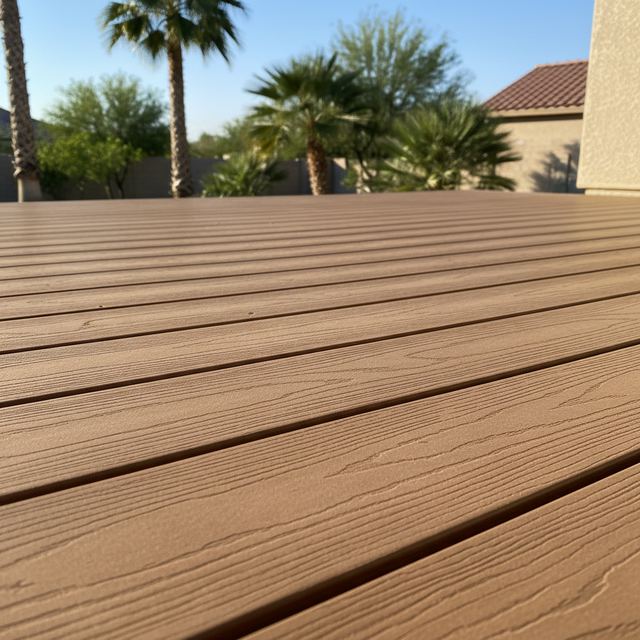
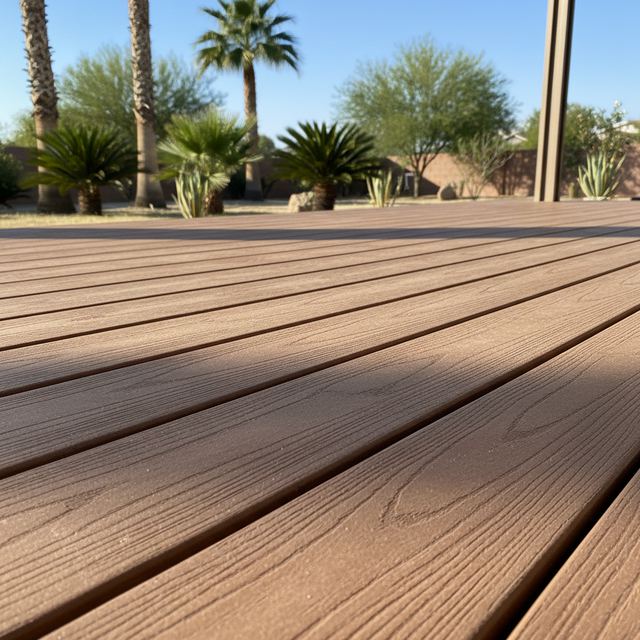
Trex sells several lines at different prices. The entry lines are the most affordable. The premium lines have a thicker, more detailed cap, richer colors and longer warranties, and Trex's newest boards are engineered to stay cooler in the sun than earlier ones.
Bring samples outside. Leave them in the afternoon sun for an hour, then stand on them barefoot. That test settles the color question faster than any brochure.
Step 2: get the structure right
Trex publishes installation requirements, and the warranty depends on them. The important ones are joist spacing (closer than many wood decks, and closer still for diagonal patterns), the gaps between boards and at their ends, and the approved fasteners. Ask your builder which requirements apply to your design.
If you hope to reuse an existing frame, it has to be inspected first. Sound lumber with the right spacing can sometimes be kept. Tired or widely spaced framing cannot.
Step 3: plan the time
- Design and quote: 2–4 weeks.
- Permit and HOA approval: 4–8 weeks, sometimes longer.
- Material delivery: 1–3 weeks once approved.
- Construction: 2–4 weeks for most decks, longer for multi-level designs.
Step 4: prepare the yard
Clear the work area and a path to it, point out sprinkler lines and anything buried, keep pets inside during working hours, and expect noise from saws and drills for a couple of weeks.
Step 5: settle these before signing
- The exact line and color: Written into the contract.
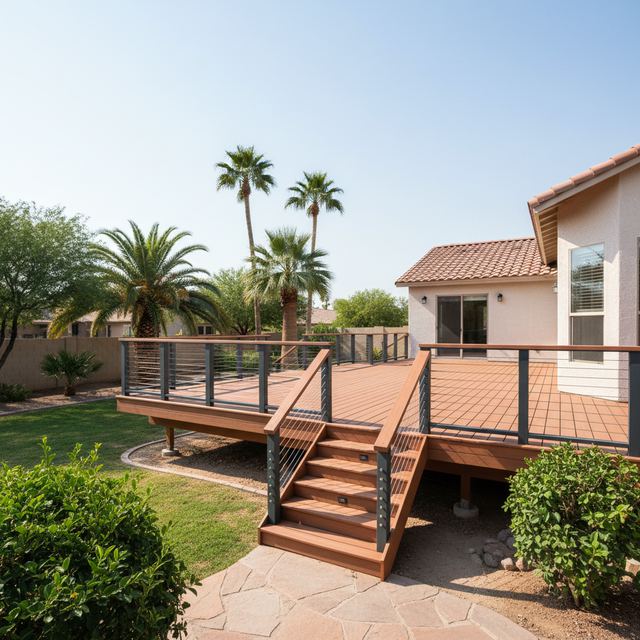
- Railing system: Trex's own, aluminum or cable, and the price of each.
- Framing details: Joist spacing and footing sizes.
- Warranty: The Trex material warranty and the builder's workmanship warranty, both in writing.
- Cleanup: Who removes the old deck and the offcuts.